Pages

November 1, 2012

IANAOMS - Part III: Baby Hamper

The third project in my "I am not afraid of my Serger" series!

Now: After a day or two at home with the new baby I realized that *gasp* I had no place to put her dirty laundry!
(If you haven't had a baby this might sound silly to you. But think about it...would you want something with baby diarrhea/urine/milk barf etc. going into the same hamper that you use for, you know...clothes you care about? Yeah didn't think so.) (Oh yeah, and she gets special baby detergent.)

Since we have a *very* tiny home, space is always an issue. Comfortable living is only to be had by thinking creatively. The changing table was my first choice - here's the space I am working with:


Not a lot of room, but when you look from the top...

84 degrees in October *grumble grumble grumble*

There is a little gap! This will be perfect.

I set out to create a hanging hamper that would just fit in that spot. since that is where more of the dirty clothing is procured - and you'll note there are some really nice, rounded knobs at each corner of the table. Design was easy - I knew exactly what I wanted, and how to make it work with the Serger. Luckily I had some black thin corduroy for backing (to protect the table), stiff black mesh for the outer, puffed portion (the better to ventilate with) and some black elastic.

And when I figure out how to write sewing patterns I will get right on it! :)

Pictures of the final project:


I did have quite a bit of trouble getting the tension correct for edging. I think this is because I had it most recently set for the flatlock stitching I was doing on the quilt. In addition, the mesh did not want to behave at all, and although I was really excited to try and use the setting for differential feed I just could not get it to work for me. Perhaps the fabric's fault? Can't imagine mesh is ideal to work with. I actually gave up trying to get it right and just did gathers manually - hence the slight asymmetry. (Cuz pinning and ironing is a time luxury I can't afford right now. Deal with it.) I attached the elastic loops by hand.

All in all, the project only took an hour or two - and much of that time was spent trying to tweak the tension and practicing on scraps. Yikes! Hopefully it will start to come more naturally soon.

October 31, 2012

Halloween Goodnight!

It's all over! (Well, it is for us. Sounds like it is still happening for my drunken neighbors though.) Just had to share some of my favorite pictures from tonight. Even though this year was extra exhausting, it was a ton of fun for everyone.

My pumpkin! Totoro jack-o-lantern.

Naturally...because he is always getting in trouble.

Schroeder is such a good sport.

Muahahha!
Hope everyone had a happy and safe Halloween!

Happy Halloween and Baby's First FO!

Halloween is a favorite holiday in this house, and we are extra blessed this year due to new baby Q and being World Series champs - yay Giants! My husband has been walking on air for days, with no end in sight. :)

Also...I finished Baby Q's first item! The Aviatrix hat by Justine Turner.

daww
More info soon. Hope everyone has a great Halloween!

I am not afraid of my Serger Part II: Piecing The Quilt

I am still working on photos for this portion, so you'll have to do with words for now.

So: Once I finally had my arrangement decided upon, piecing was easy.

I followed the recommendation from the original pattern and just picked up pieces in a single row, then sewed them all together. Since I was working with the machine it made things a lot faster, which meant no need to carefully stack every row and place in labeled zip-lock bags - each row only took about 5 minutes or so to piece together! I tested out the style of stitching I wanted with some scrap pieces beforehand and was able to get some nice looking ladders:

Using this blog post as a guide to flatlock stiching, I was even able to emulate the look from the original pattern! (Which is all hand stitched...admirable or masochistic, you decide.)

Once I finished piecing all the strips I ironed them out and miraculously, they are all pretty much the same length. I was careful when building the pattern to find pieces that added up to the same length - glad to see that it actually worked out.


Although it was super tempting to just continue to work and try to finish the quilt, I had already spent an exorbitant amount of time on this project and my son needed to go to sleep (which means no more machine running...we have a very small house).

Funnily enough, I went into labor this night. One of the first things I thought when I woke up with contractions was "But my quilt!! I wanted to finish that today!!" I was so disappointed!! So, we'll see when I get time to put the final touches on this. The great news, however, is that when my step-dad came to see the new baby he brought our old Singer sewing machine with him! So I will have no problem finishing all the non-Serger aspects of this baby. (I was really scratching my head about how to border this thing...ever impatient am I.)


October 29, 2012

I am not afraid of my Serger Part II: Practicing With Felt

I recently inherited several boxes of fabric, one of which consisted entirely of felt. A few new pieces but mostly ends and scraps and strange bits. I knew this would be perfect for meditation and practicing some more Serger action, but I didn't know exactly how.

I adore Purl Bee for all their amazing patterns and fabrics, so this was the logical place to look for inspiration. They even have a section of felt projects, which made it really easy to browse. After considering coasters, placemats, bean bags, and a memory card game I finally settled on this quilt as a guide:


Because why have a bunch of useless bean bags when you can have one useless quilt? :)

So far I've managed to cut a million squares, iron them, and arrange them into a pattern I think I can like. Since this is basically just to keep me moderately occupied (I'm at home waiting for a baby to fall out of me) and to get some extra practice with the machine, it's nice to not have to worry about being precise.

Also, cutting through felt with a rolling cutter is so incredibly gratifying. I cleared the box in no time at all - look at how many squares I had!

ok, it's hard to tell. but those stacks are really high! 

Here's a picture of the arrangement I settled on. Can't wait to start sewing.

The black triangles are covering some of my slightly inadequate squares.


Update: If you've been attentive you will have seen that the baby DID fall out of me...so whaaa? I write posts in advance and schedule them for later publishing...that's why the time warp. Funnily enough, I went into labor the night I was putting this together.

Zombie Bunny

Just in time for Halloween - check out this amazing creepy amigurumi posted by  Knit Hacker! Made by Mowglee Mo.


It looks like a standard bunny with a creepy eye and bloody bandage...brilliant. (More pictures at her Flickr stream. So creative!)

Happy early Halloween, everyone!!

October 26, 2012

Birthday!

Just a quick note to say - brand new baby Q is here!! She was born on Monday, October 22nd at 10:20 am. She is so perfect and all of us are over the moon. Many pink baby knits on the way!!


October 25, 2012

Pattern: Knit Sunglass Holder


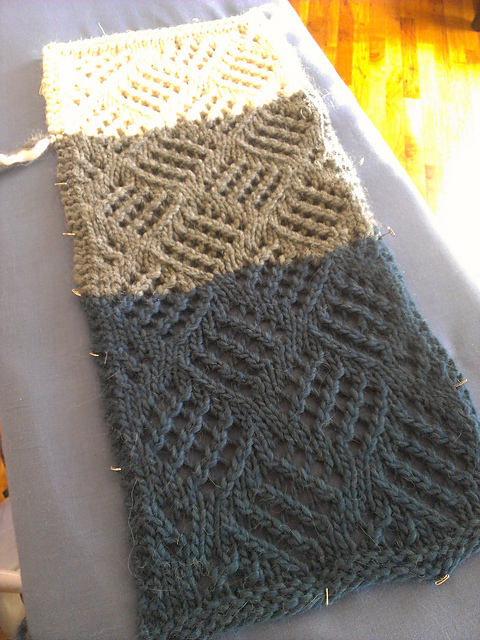
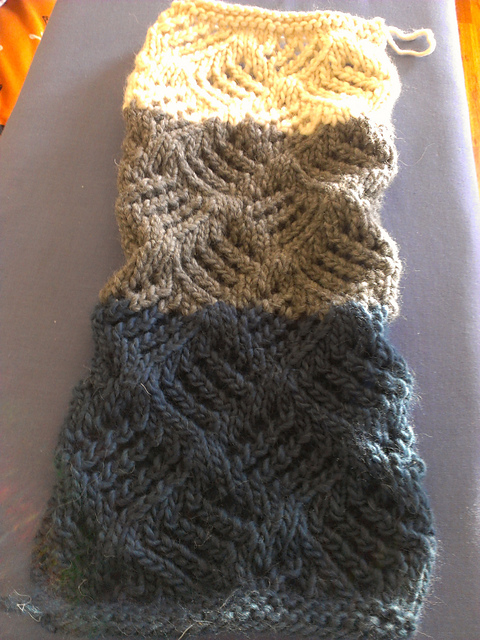
This project was really simple. The hardest part was actually finding a lace pattern I liked that (a) had enough holes to host sunglasses, (b) wasn't boring, and (c) was simple enough that I could finish quickly. This one is the Checkerboard Lace Scarf from Purl Bee.


I measured the frame and checked gauge and turns out that I could make it happen with only 2 pattern repeats. (The pattern is a 10x + 8, meaning any increment of 10 stitches plus 8 stitches for edges. So I used 28 stitches.) I was using scrap yarn from a sweater project - because the color was perfect - but it was bulky, so I upped the needles to 10 (but they knit like 10.5 or 11 for some reason - metal needles).

I just eyeballed to get the length of the frame, and then did a quick steam block.

post blocking
pre-blocking


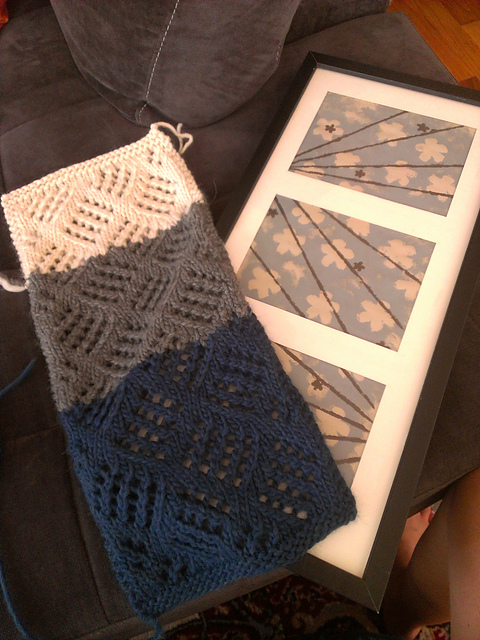
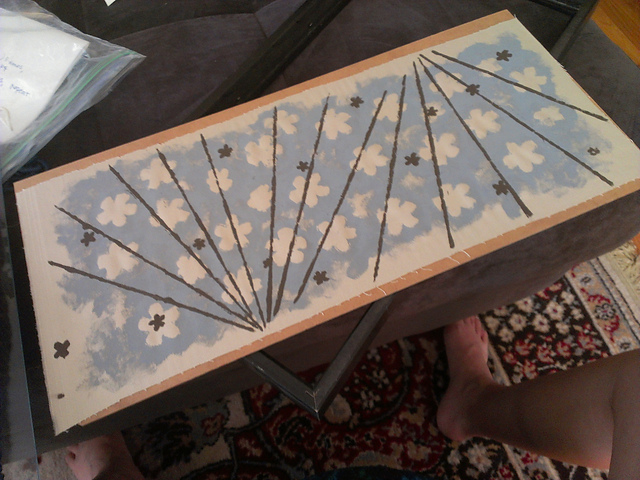
I already had a frame in mind - an old piece that I painted years ago that no long matches anything in our house. I ended up keeping it there, in case an intrepid observer looked closely, and because the color matches the yarn I used...and I still like it. :)

knit piece and frame - size match!


picture without the matting


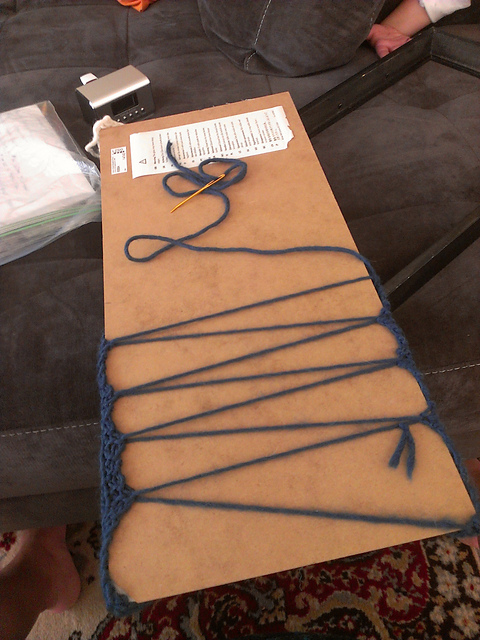
After that, some easy sewing with more scrap yarn to get the piece to stay on the glass and such:

just enough stretching to keep the lace taut

Then, it was just about popping it in the frame. Due to the bulky yarn this was actually harder than I expected, and I cracked the glass in the process. Sewing the back to keep the piece tight and in place was definitely important - you can see in the final picture that there are two saggy points, on the top and bottom. That's where I got lazy and didn't sew because I ran out of yarn and didn't feel like getting something else out. Derp...I'll be fixing that soon.

Anyway - tada! I placed it by the front door so I never have to worry about "where the heck are my sunglasses?!?" again. And I can stop trying to smush them into my Plastic Bag Stash-o-matic.

P.S. Here is the link to the Ravely project page.